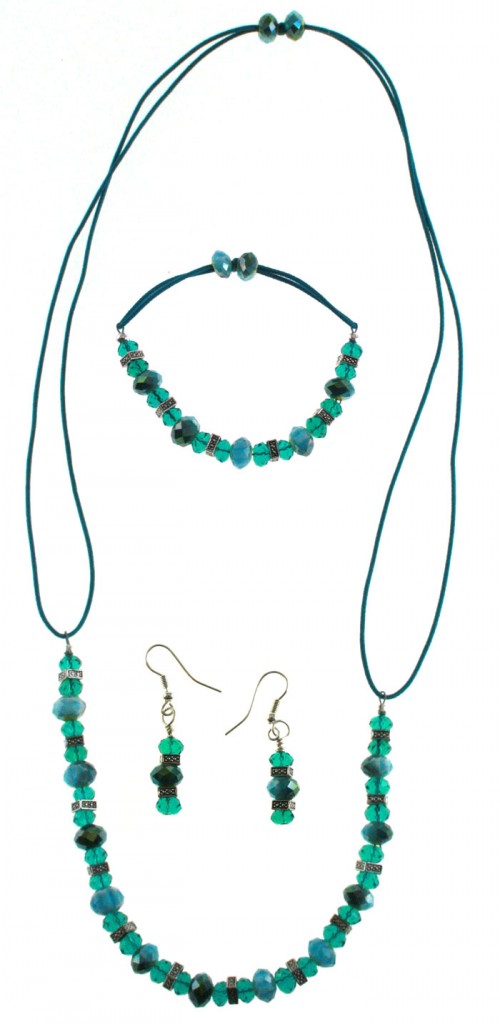
Aquatic Crystalline Ensemble
This beautiful ensemble glimmers with sea-inspired hues.
Project Instructions
Designed by: Jess Danos
Skill Level (1-5): 2
Time to complete: 1 -2 hours
MATERIALS:
- 1 Jewelry Fundamentals Silver Jewelry Starter Kit (SUL14638 UPC 717968168269)
- 1 Jewelry Fundamentals Cords & More Thick Elastic Cord Card– Fiesta (SUL51974 UPC 717968519740)
- 1 Advantus/Sulyn 7 in. Seaside Crystalline Beads Strand – Aquatic (SUL51021 UPC 717968510211)
- 1 Advantus/Sulyn 12 in. Mini Crystalline Teal Beads Strand (SUL50054 UPC 717968500540)
- 1 Advantus/Sulyn 12 in. Silver Duchess Beads Strand (SUL50005 UPC 717968500052)
- 2 ½ in. of thin wire
- Pliers (Roundnose and Needlenose)
- Crimper
- Jewelry Glue
- Scissors
- Ruler
STEPS:
Bracelet
- Cut 9 in. of Thick Elastic Cord.
- Fold cord in half and tie a knot approximately 1 in. from ends – center knot.
- Fold the 2 ½ in. of thin wire in half and put through loop of folded and knotted elastic.
- Thread 2 of the Aquatic beads onto the elastic using the folded wire as a needle to pull the elastic through beads.
- Place one bead on each side of knot.
- Thread a stray elastic end under each bead, then trim excess elastic and secure knot with jewelry glue.
- Cut 7 in. of tigertail.
- Attach tigertail to one end of elastic cord by using crimp bead and cover.
- String on beads to measure approximately 3 ½ in. for a smaller bracelet or more for larger sizes.
- Attach to opposite end of elastic cord using crimp bead and cover.
Necklace
- Cut 36 in. of Thick Elastic Cord.
- Repeat steps 2 – 6 from Bracelet directions.
- Cut 10 in. of tigertail.
- Attach tigertail to one end of elastic cord by using crimp bead and cover.
- Sting on beads to measure approximately 7 ¼ in. in length.
- Attach to opposite end of elastic cord using crimp bead and cover.
Earrings
- Using headpins, string on beads to make 2 wrapped loop charms attaching to earwires before wrapping.
- Finish wrapping.
